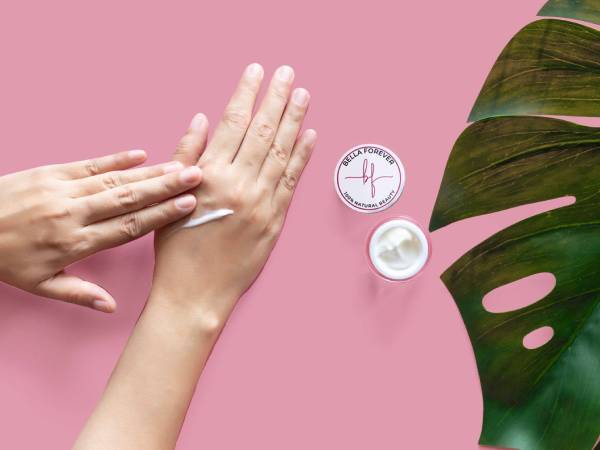
 Your skin needs some TLC (tender loving care) from time to time, in order to look healthy and get that flawless glow. That is why a DIY facial should definitely be on your schedule at least once a week.
DIY Facial Steps:
Cleanse Your face should be devoid of makeup, dirt, sweat, and other impurities. Use our Rose Bellini Cleanser – pour few drops on a cotton ball and thoroughly wipe your face and neck.
Steam Pour boiled water in a big bowl, along with essential oils; if you don't have them, try to put green tea or chamomile tea bag in it. You could also sure dry flowers. Make sure to keep your face around 6 inches (or more) away to avoid burns. Drape a towel over your head and conduct two-minute sessions. Steaming loosens dead skin cells, dirt, and oil plugs for extraction.
Extract Blackheads Mix sugar and honey as a gentle scrub to exfoliate for a couple of minutes. It removes blackheads, whiteheads, and dead skin cells. Don’t try to squeeze or pick at blackheads as it can lead to scarring and inflammation. If you know the right process, a blackhead removing tool can be used too (DIY facial extraction).
Face Mask There are several clay masks to choose from our store – each is specifically formulated for different skin types and issues associated with them. You can customize them by adding in other ingredients like honey, avocado, etc. Use the Mix and Play Set to prepare natural homemade clay masks.
Tone Rinse the mask with warm water after leaving on for about 10 minutes (or slightly less if you have dry skin). Use the Witch Hazel Toner on the face and neck – pour some drops on a cotton ball and apply.
Moisturise Use the Rose Martini Face Cream once you are done with toning. It has a pleasant fragrance, is ultra-light, and absorbed quickly into the skin. Now that you know how to proceed with a DIY facial, follow the steps carefully and soon you will notice the difference.


 Your skin needs some TLC (tender loving care) from time to time, in order to look healthy and get that flawless glow. That is why a DIY facial should definitely be on your schedule at least once a week.
